What Order Do You Paint The Interior Of A House?
Thinking about updating the interior of your home but don’t know what order or how to start painting your home?
Don’t worry, you are in good hands!
Our professional painters at Dependable Painting and Remodeling make the process simple and easy to follow! Whether it is wall paint, ceiling paint, doors, trim or all of the above, this guide will help make a big difference in your home! We have all the steps and information you need!
As painters in Marietta, one of the first things we suggest is to always do the prep work before you being painting the interior of your home. This is going to make your life and this project go smoothly.
Prep Work:
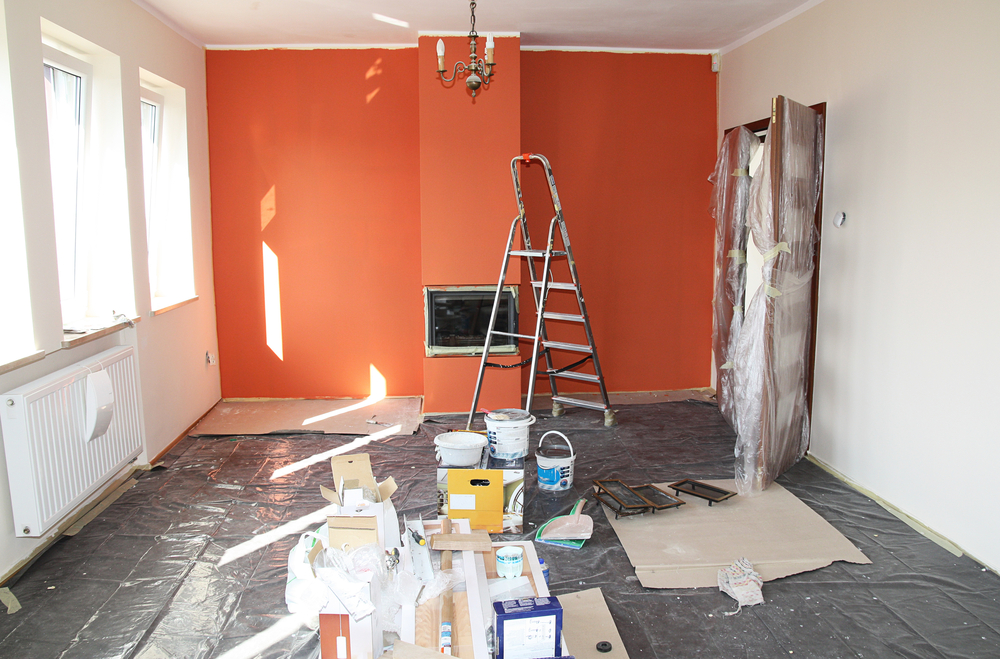
The first step when thinking about painting your home is the prep work. You need to cover unwanted surfaces you don’t want to get paint on.
- Drop cloths are ideal for covering the floor, which you can get at Home Depot.
- For furniture, we recommend using plastic. You can find painters plastic at Home Depot.
- You want to make sure you are also taping the trim, door frames and window frames. Ideally, you want to use green or blue painter’s tape.

Scrape:
The next step you need to consider is scraping peeling or loose paint on your walls. This will ensure that the walls in the room are ready in texture to be caulked, patched, mudded and then sanded to have the best results possible.
Caulk:
Caulking your walls is a very important step in the interior painting process. You need to caulk any areas in the trim that need caulking so you are not left with any cracks or holes around the trim. This will make a big difference to the look of your trim, whether it is around your windows or on the baseboard.
Patch:
The next step in the prep work is to patch any holes, cracks or damage to your walls. This is something that a pro painter does religiously. It ensures that the job will be done properly and will only need to be done one time. Check out our Interior Painting Process we use everytime we professionally paint a customers home.
Mud:
After you, scrap, caulk and patch. Mudding will be the next step to creating the best paint job possible. Mudding the walls after you patch is important because it will leave you with a smooth finish around the whole area of your room.
Sand:
After mudding, you will need to sand any damage to the drywall surface, holes or nail pops and lightly sand the whole wall. You are going to need sanding poles and sandpaper to ensure that the walls are smooth and ready for a paint coat.
Spot prime:
Before you paint, you need to prime any areas that require priming, such as new drywall, water spots, stains and patch work. Using a high quality primer will make the rest of the job way easier to finish and will create an appearance that you cannot beat!
Let’s Get To Painting:
After all of the prep work is done, it is time to paint! Everyone loves to paint, so it should be as simple as 1,2,3! When choosing the products you want to use, make sure you do some research on which paint is best for your walls.
At Dependable Painting and Remodeling, we use Behr Ultra Premium Scuff Defense (Washable, Ultra durable) Interior Paint.

1st Ceilings:
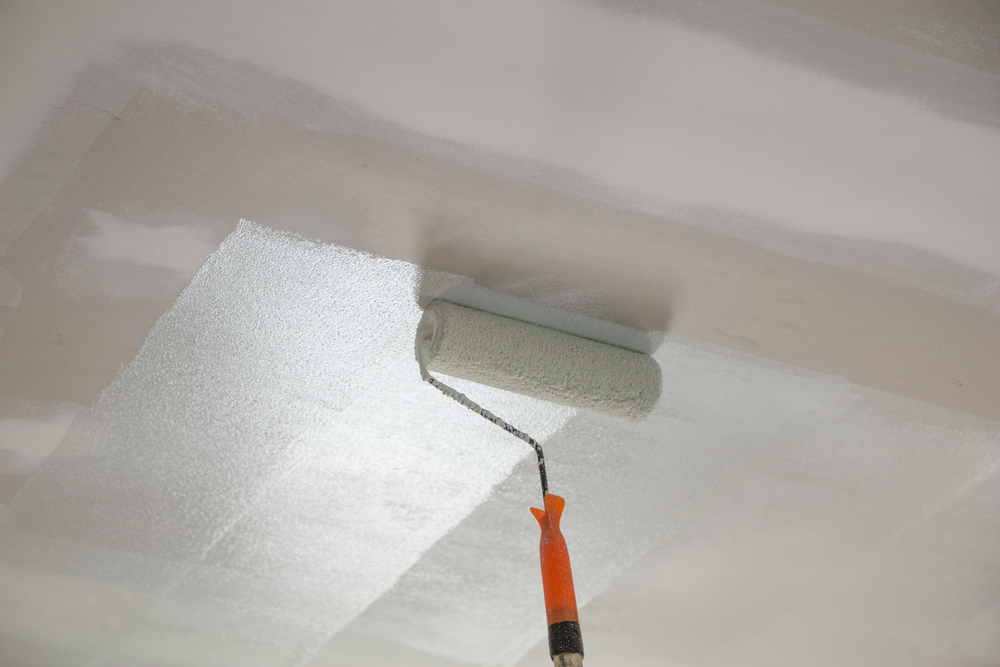
Starting with the ceilings, apply 1-2 coats depending on color change, product and coverage. The brush you want to use for ceilings should be as wide as a brush you are comfortable using, so you can roll over your cut lines as high as possible to help bend them in, which will make a big difference.
2nd Walls:
After the ceiling is painted and somewhat dry, apply 1-2 coats depending on color change, product and coverage you are looking for. As big of a roller as you are comfortable with, we recommend an 18 inch roller to avoid lap marks. For drywall, you ideally want to use a 3/8th to 1/2 inch thick roller.
3rd Trim:
After the walls are painted. Windows and door frames are the next step to painting an interior room. A nice soft brush, so you can avoid leaving as many brush strokes as possible.
4th Doors (optional):
If you choose to paint your doors, they will need to be painted last. The brush we recommend you use is one with nylon bristles because it is softer and it will not show brush marks.
Clean up and Finish Work:
The clean-up-process is to remove all maskings, such as in tape, drop cloths and plastic. To clean your brushes you need water, regular soap or brush cleaner or a denatured alcohol.
First, remove excess paint and pour it back into the paint can or use the rest of the paint that is left on the brush on the surface that you are painting. We suggest you clean your brushes in a big bucket of water.
Cleaning the brushes in the sink will not cause any harm to your sinks or drains because it will be highly diluted with water.
NEVER dump a bucket of paint down the drain. We recommend saving your paint in case there are any touch-ups that need to be made down the road.
Once all these steps are completed, you will end up with a paint job that will be flawless and that you will be happy with!
Choose Dependable Painting and Remodeling to get the best quality and quantity of work! Contact us now! (470)322-7107 or https://DependablePaint.net

